How to DIY Decorative Pebble Ladybugs
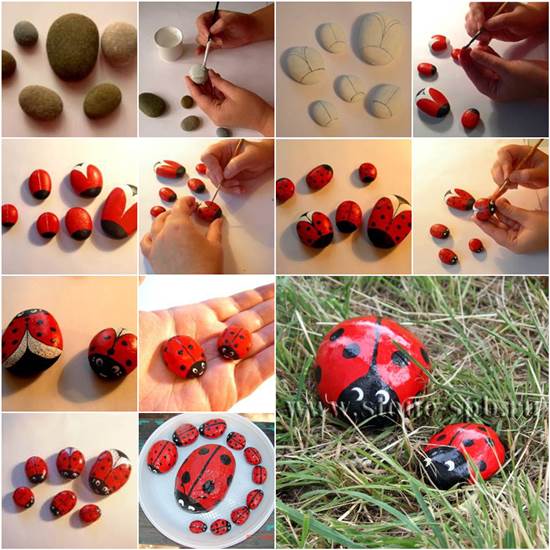
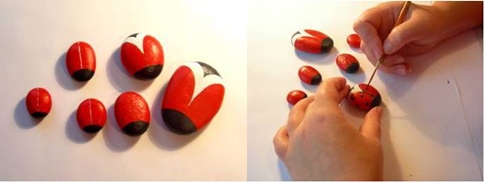

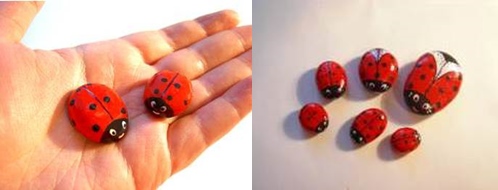
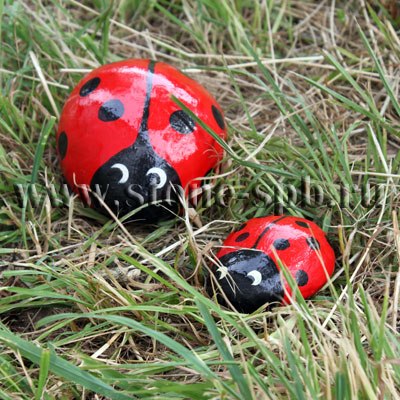
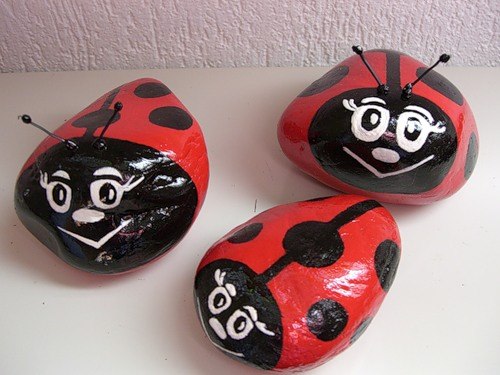
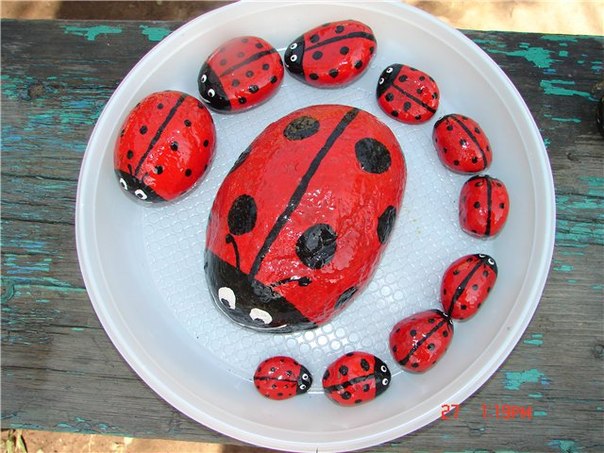
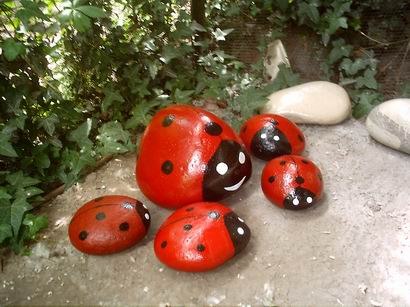
Summer is here! Have you got a chance to go to the beach? If your kids have brought some nice and smooth pebbles from the beach, you can work with them on this fun DIY project to paint some decorative pebble ladybugs! These pebble ladybugs are so cute and cheerful. I really like their bright colors, which make great decorations for flower pots or the garden. It’s a fun project that the entire family can involve. Let’s get crafting!
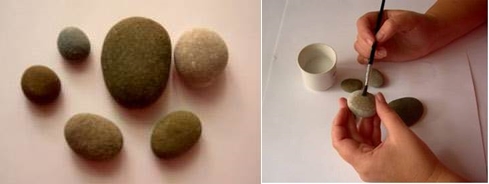
Here are the supplies you may need:
- pebbles
- PVA glue (to be mixed with water to serve as primer)
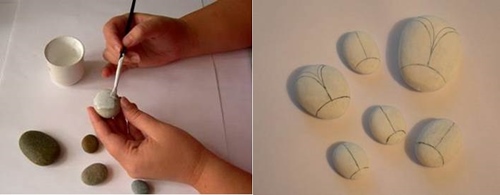
- pencil
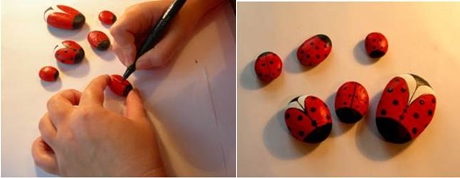
- black gel pen
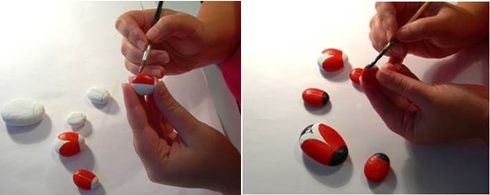
- acrylic paint: white, red, black, light blue (for the streaks)
- brushes
- lacquer (to be applied in the last step)