How to DIY 6-Strand Braided Friendship Bracelet
Do you like friendship bracelets? Friendship bracelets are typically hand made from embroidery floss or thread and are given to a friend as a symbol of friendship. However, you can easily make one with other materials, such as yarn, nylon cord and even shoelaces. Here is a simple DIY tutorial to show you how to make a 6-strand braided friendship bracelet. You may use different colors and thickness of cords to make it. Let’s make this friendship bracelet to add to our fashion collection or send as a gift for friends!
Here are the things you will need:
- 2 feet of pink patterned cord (3 mm thick);
- 2 feet of grey nylon cord (3 mm thick);
- 2 feet of pink nylon cord (3 mm thick);
- Scissors.
Instructions:
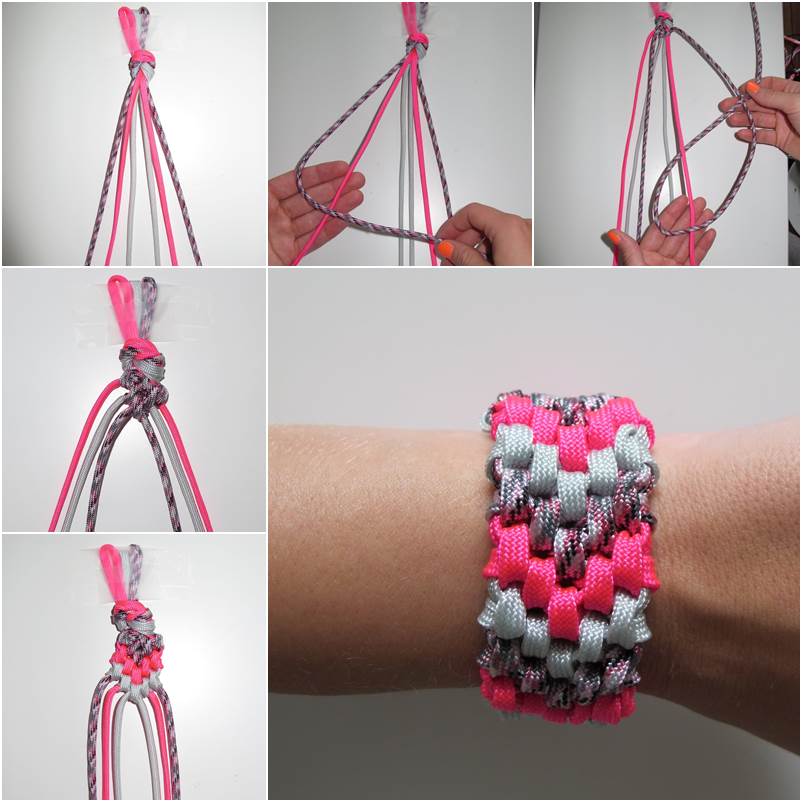
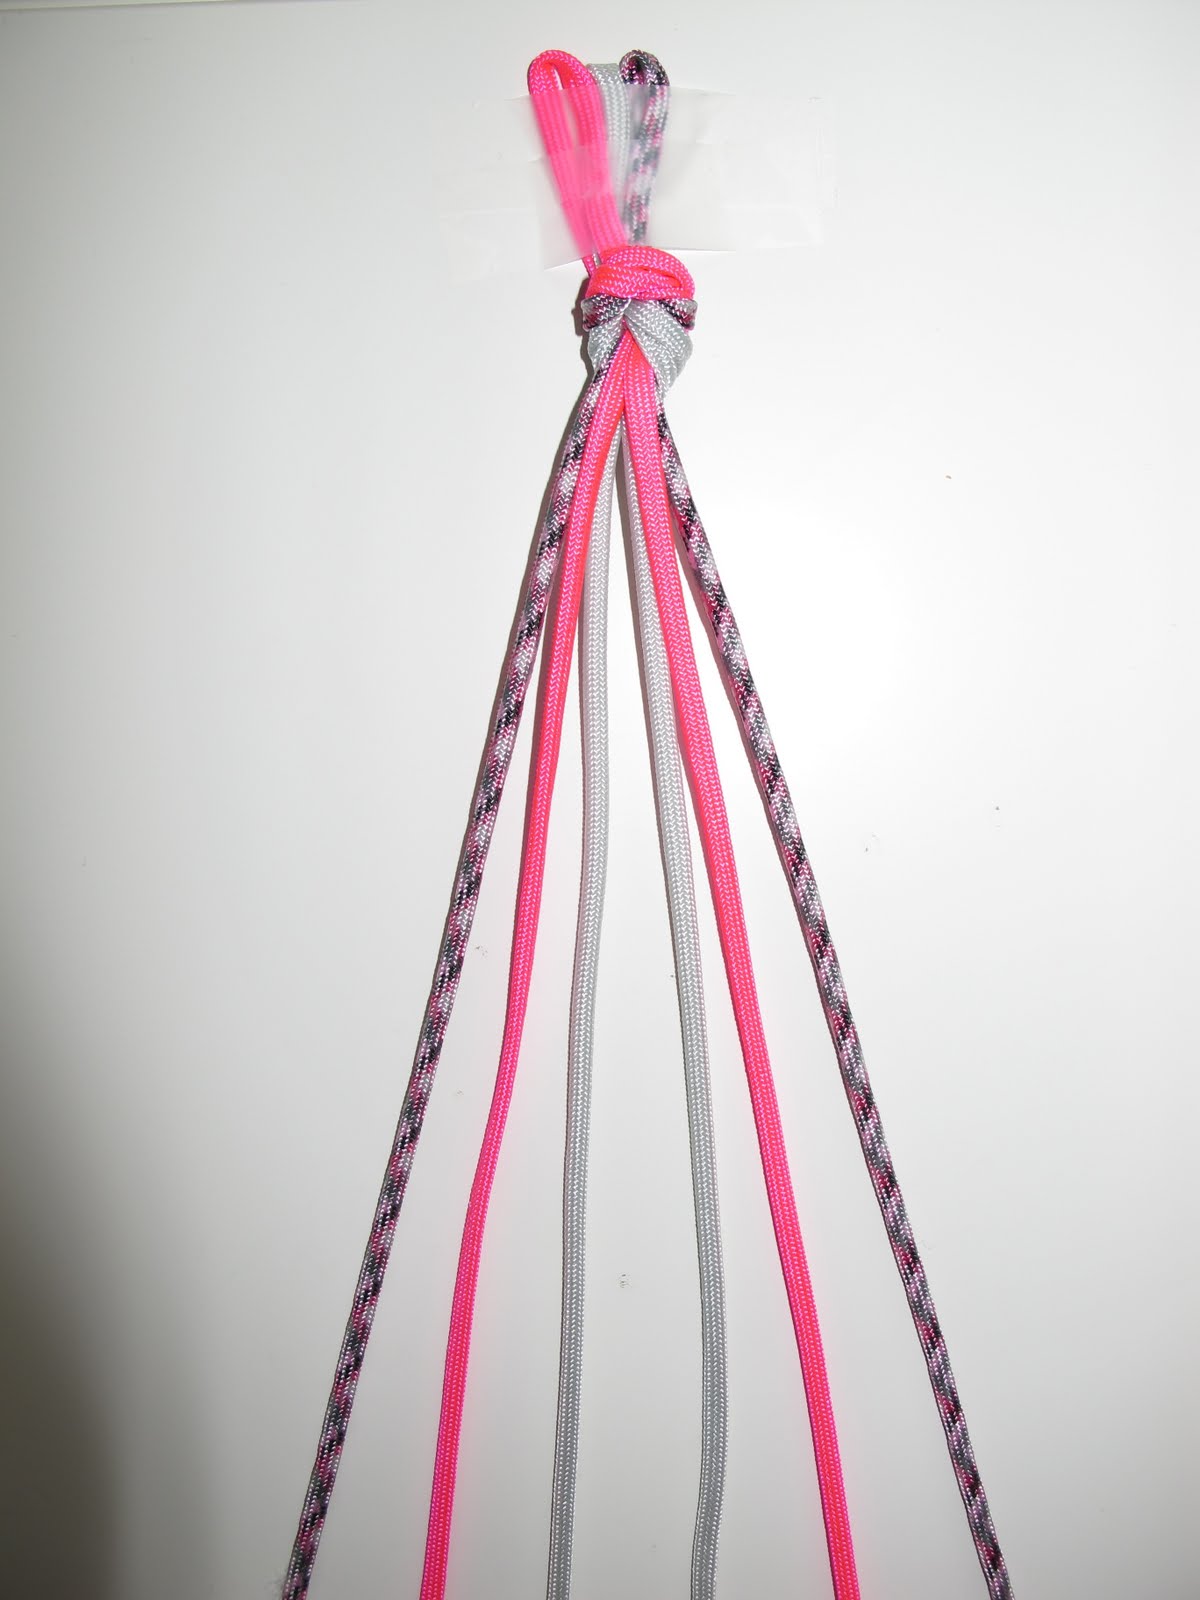
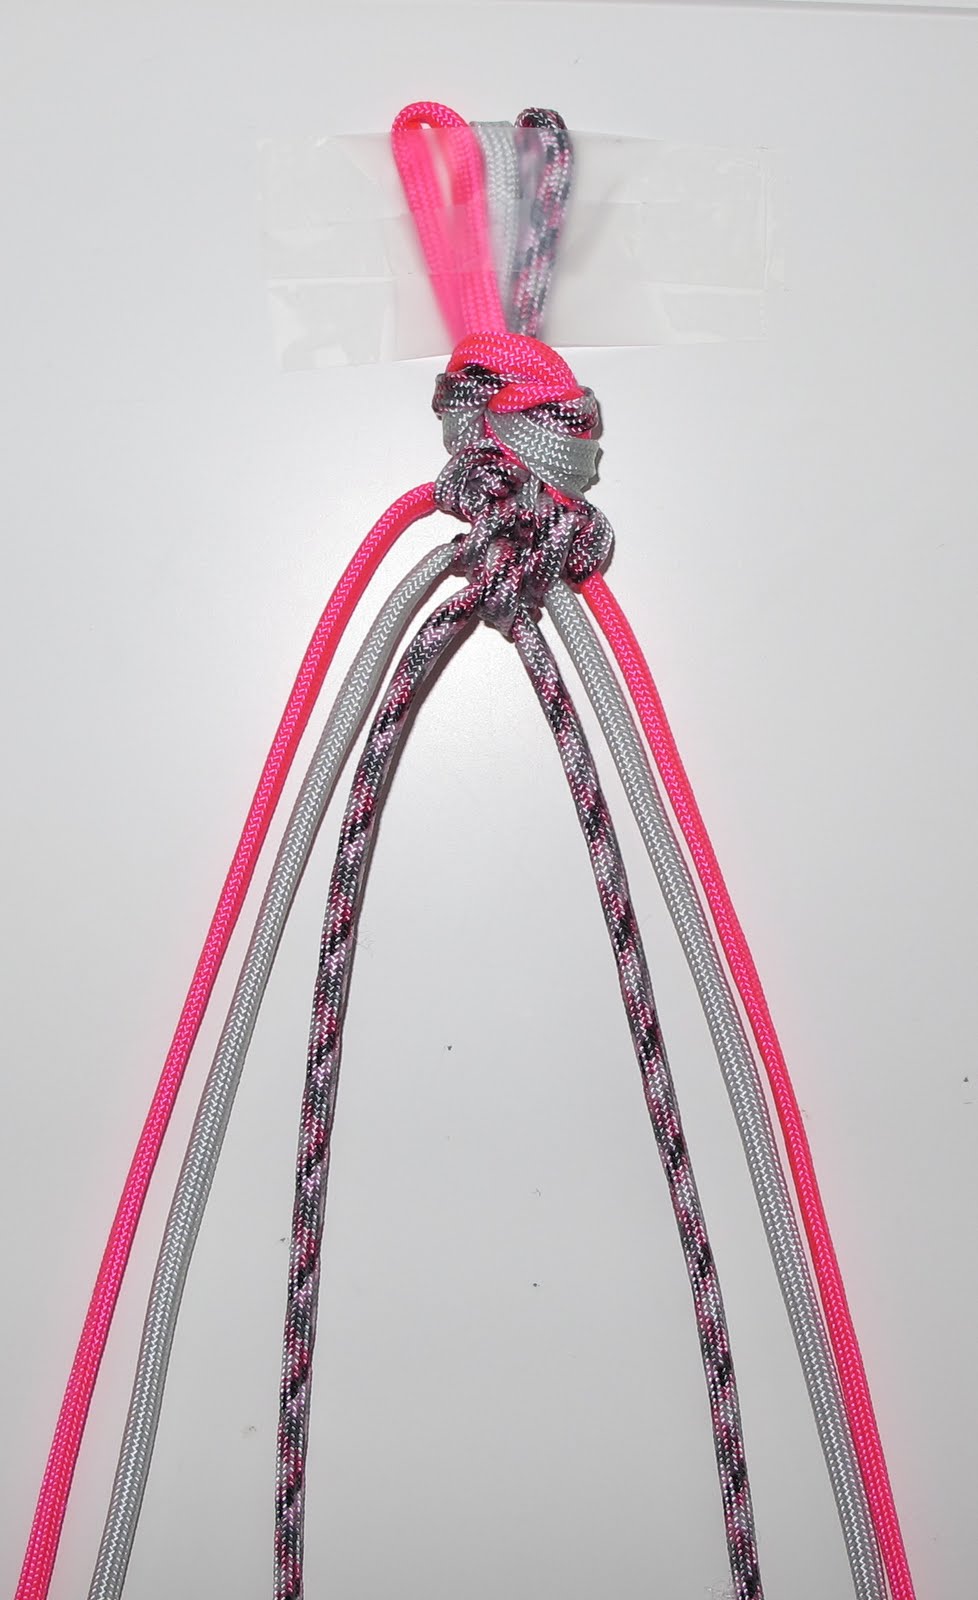
- Tape the cords on the table and place them as shown in the picture so there will be 6 strands of cord.
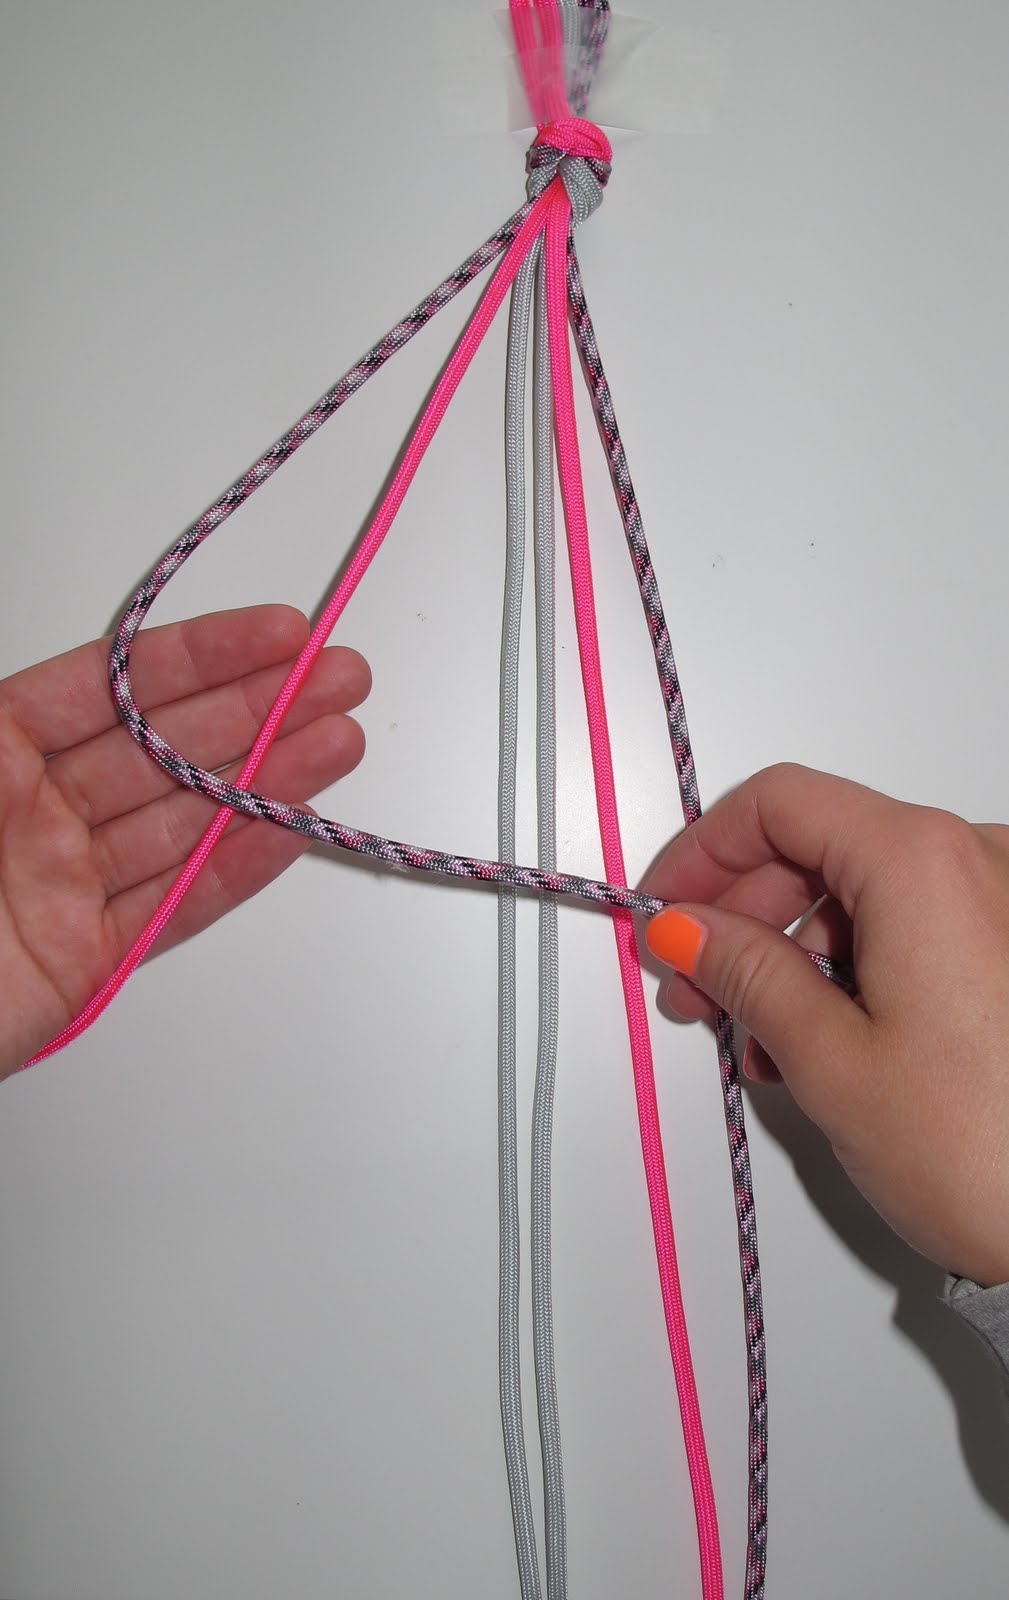
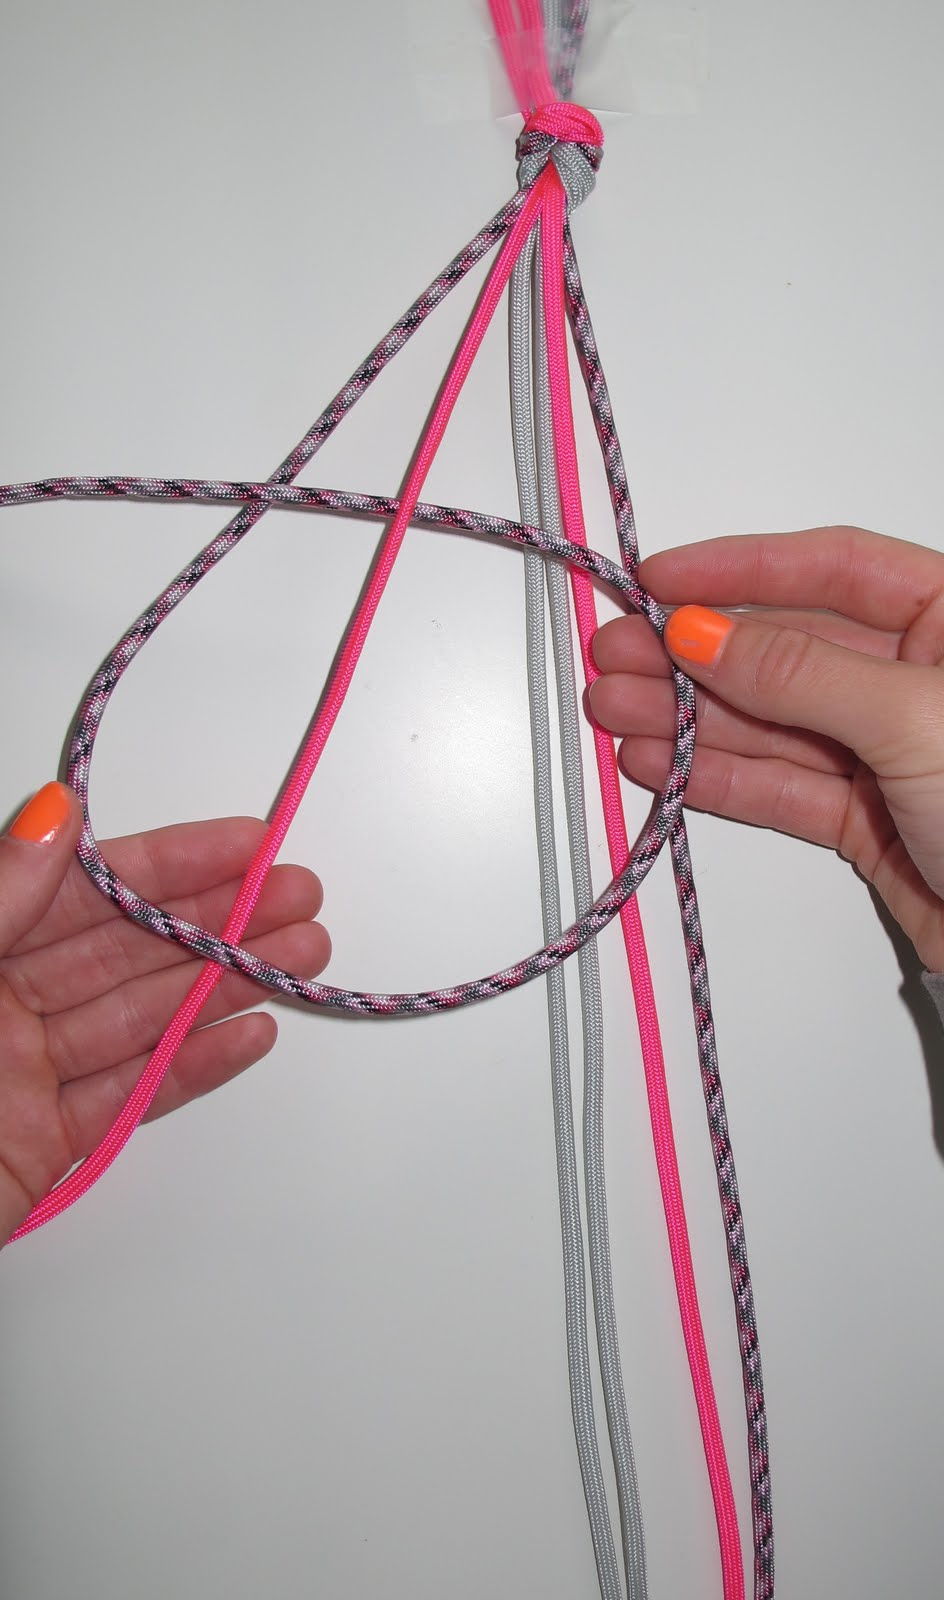
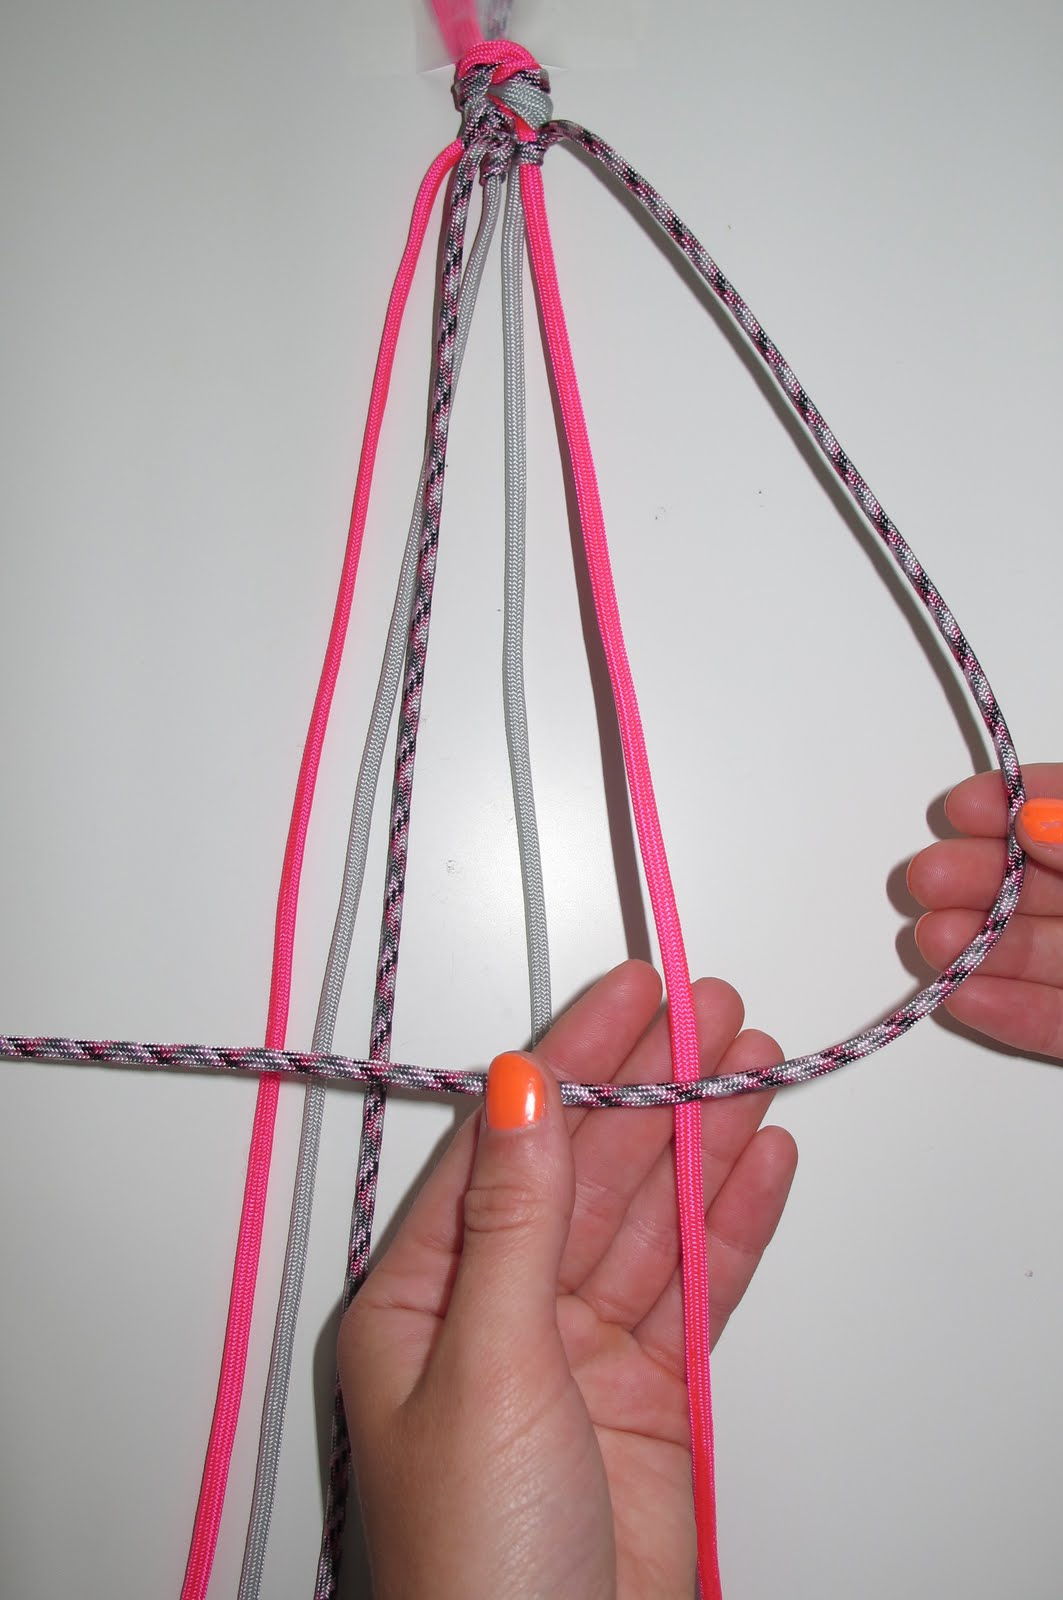
- Take the leftmost cord (the patterned cord) and make a knot with the pink cord, as shown in the picture. Tighten the knot. Then make a second knot with the grey cord and tighten it. Now the patterned cord should be in the middle.
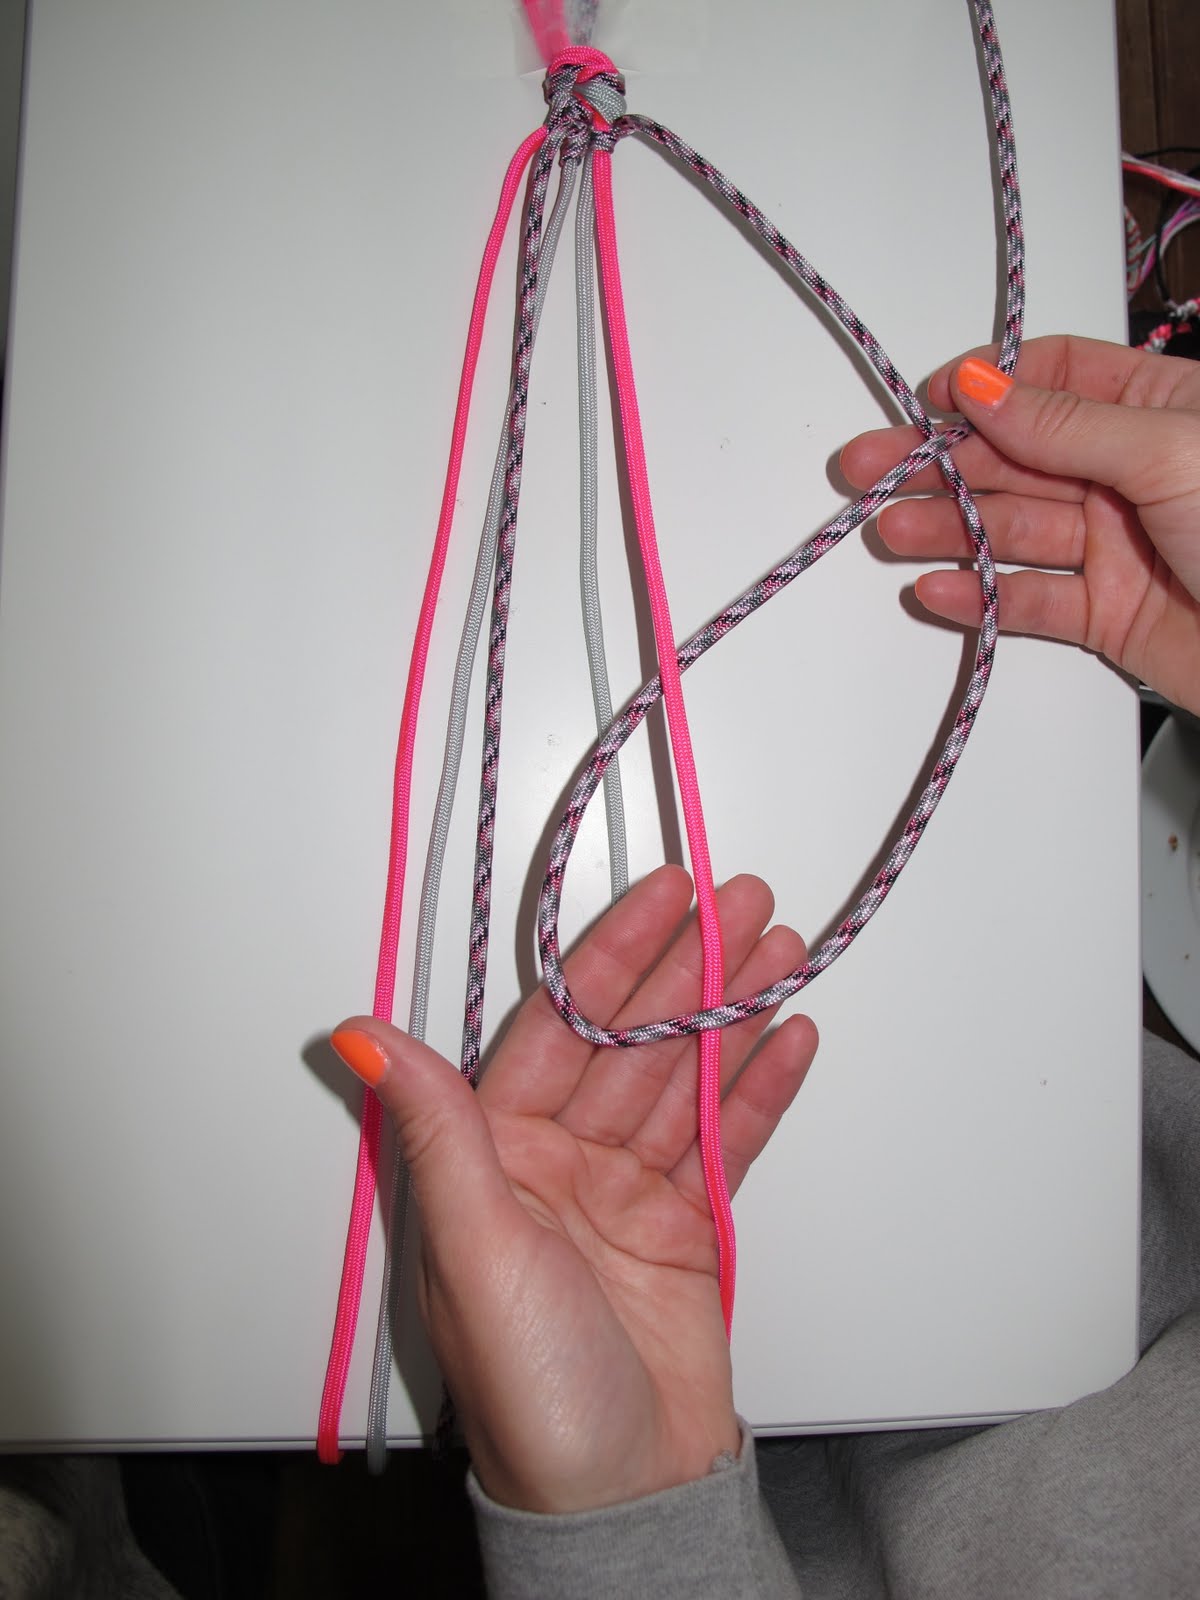
- Do the same from the right side.
- The first set of nodes is done.
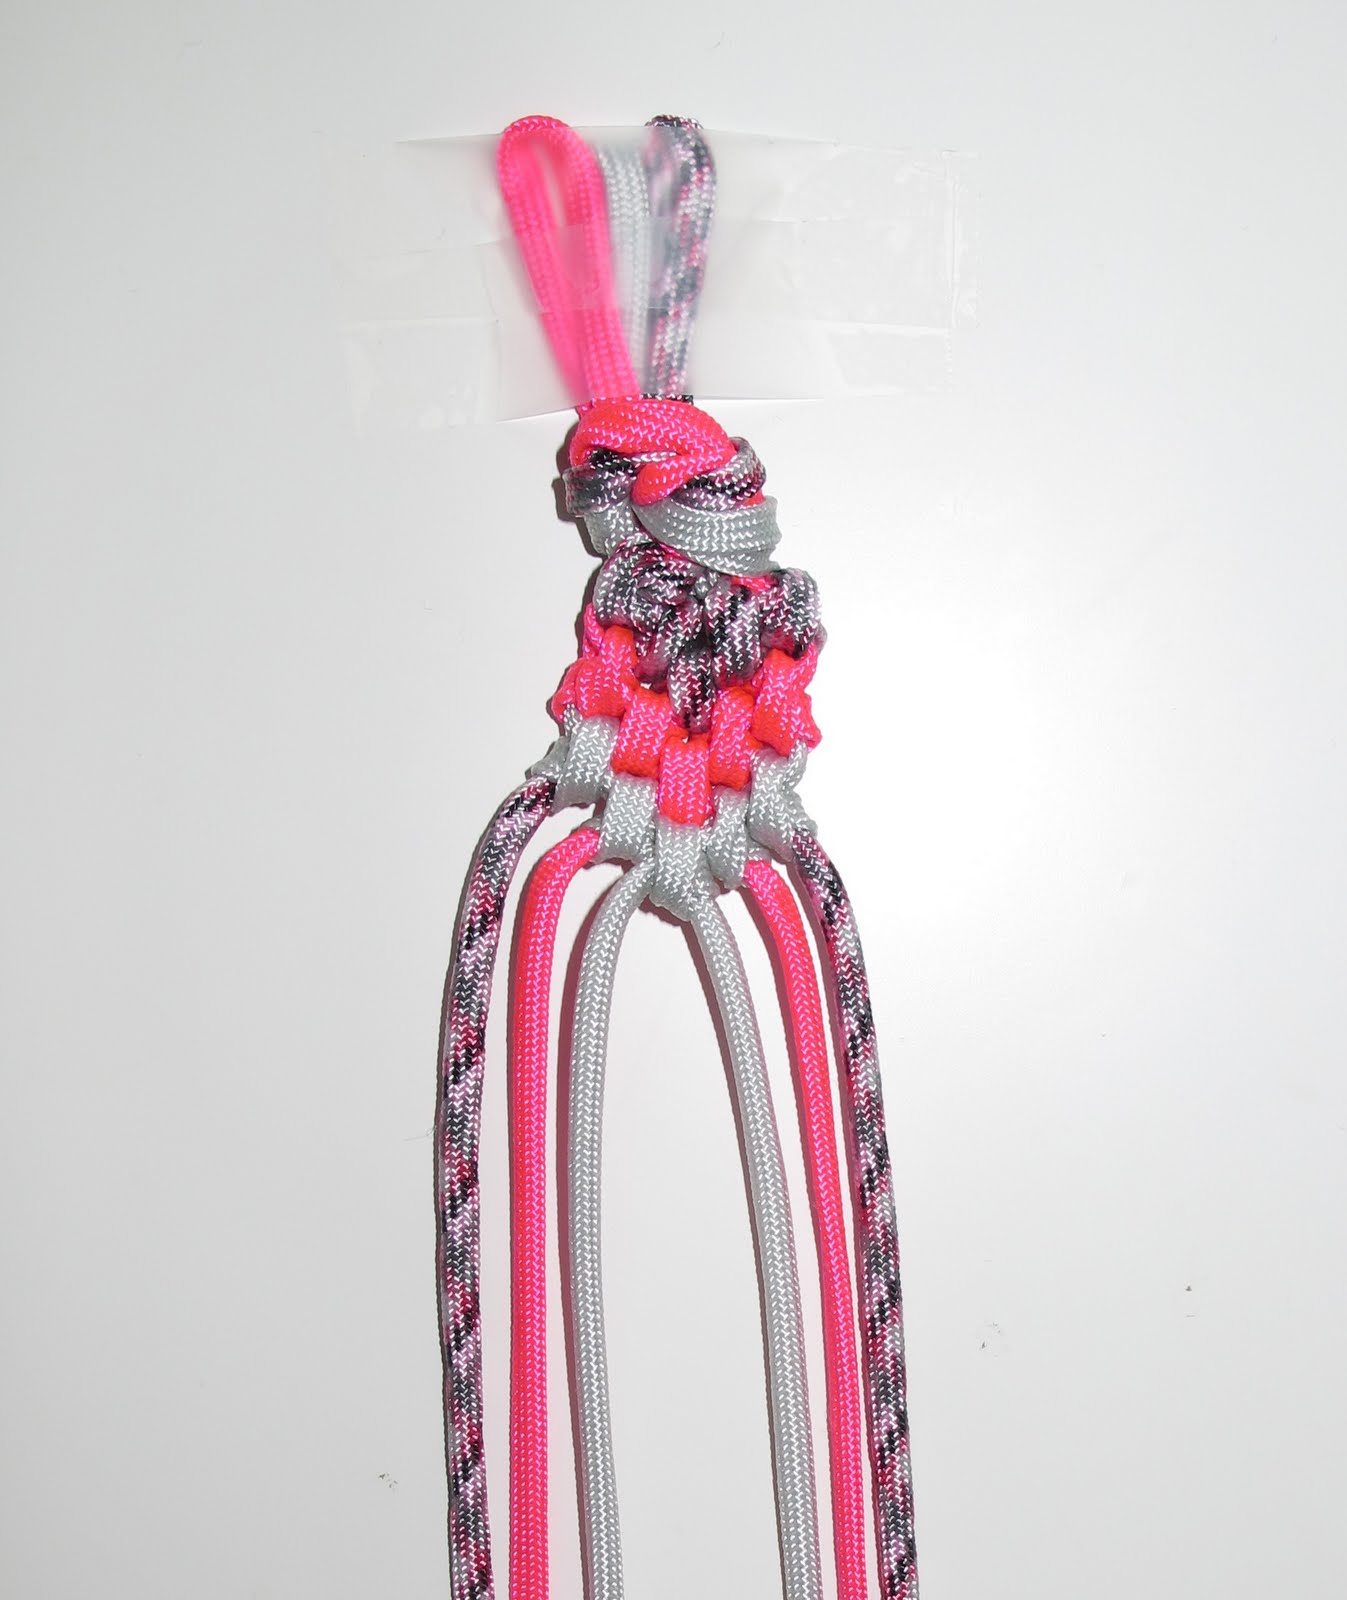
- Continue making the knots with the outer cords to the left and then the right to form the pattern until the bracelet is long enough.
- Connect the bracelet by gluing end caps on.